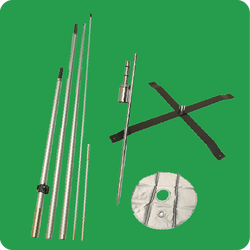
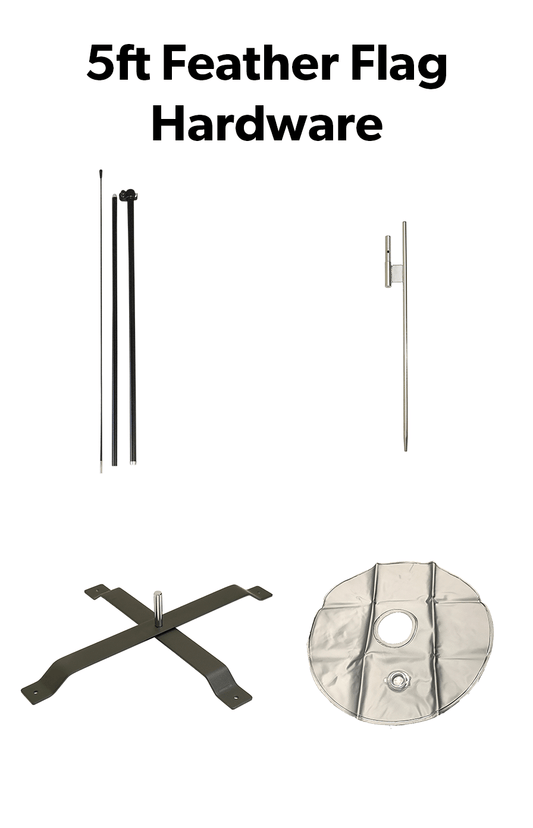
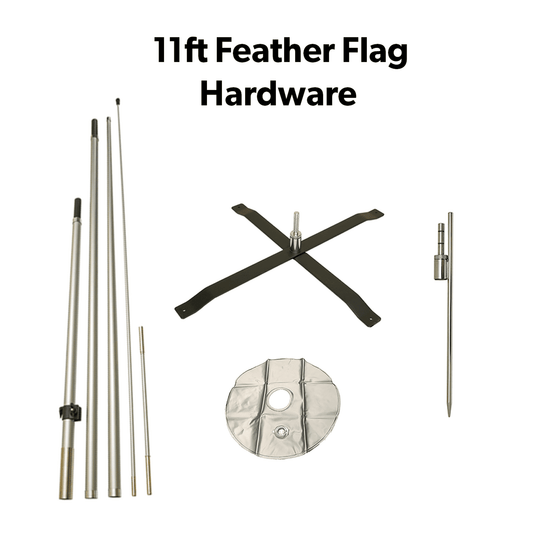
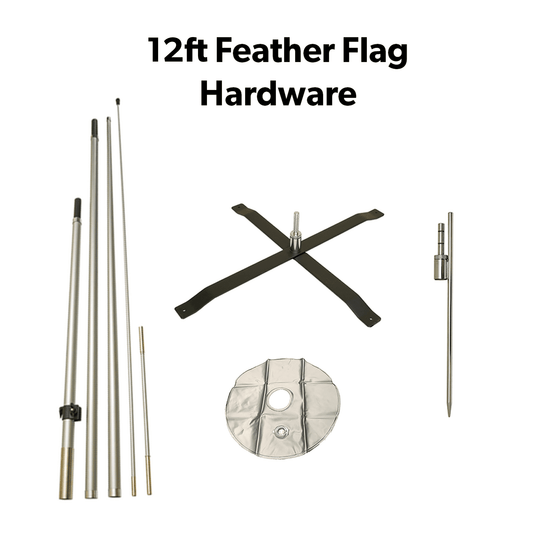
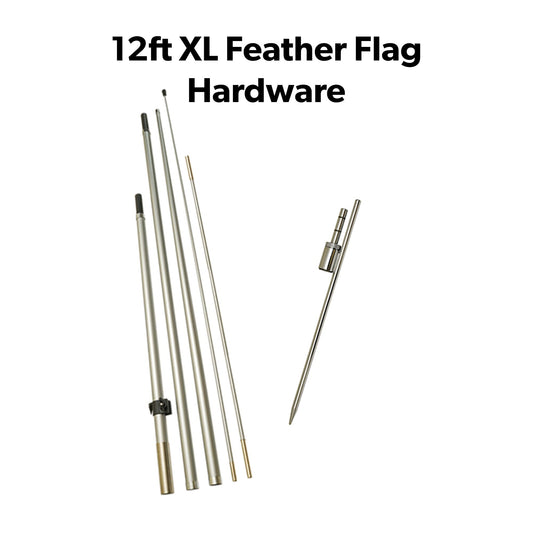
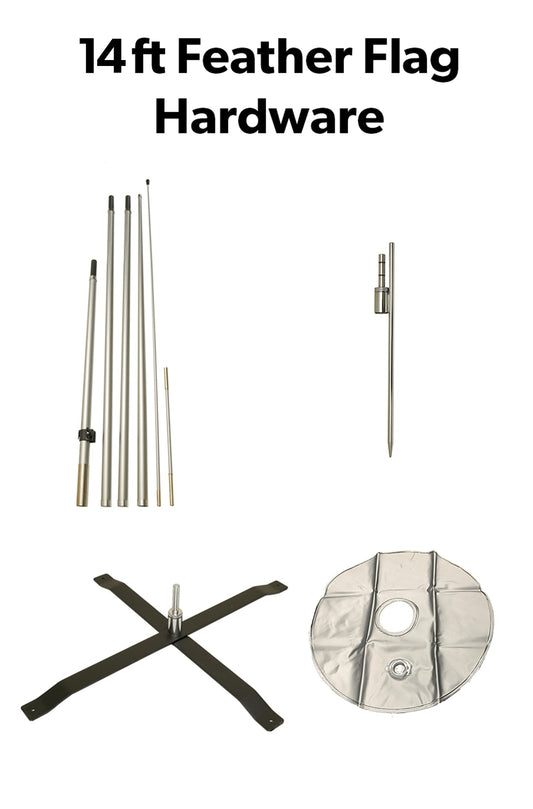
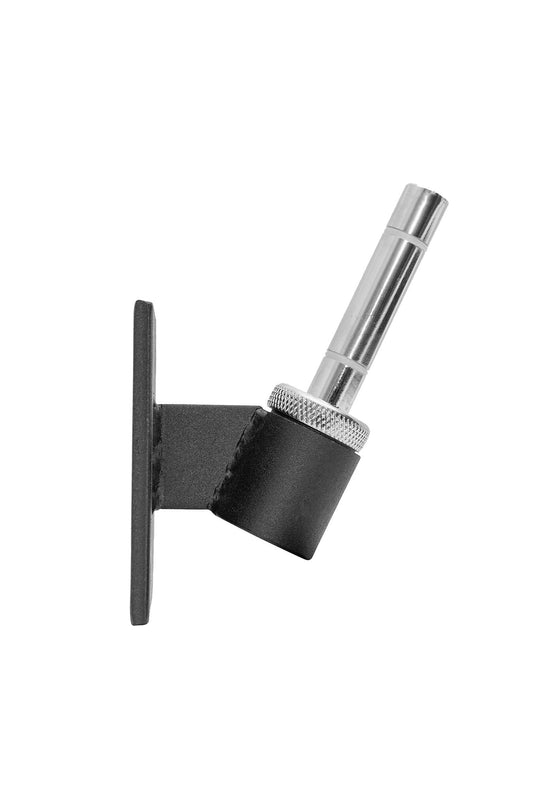
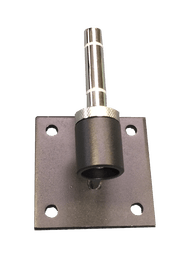
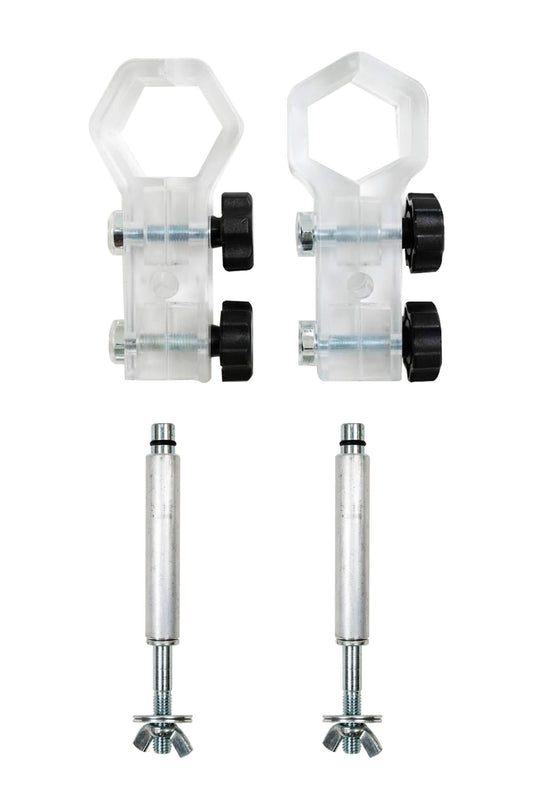
Find complete hardware sets for our custom feather flags, along with individual replacement parts for hardware that may have worn out or gone missing. You’ll find hardware sets for all our standard flag sizes from 5 feet to 8 feet, 11 feet, 12 feet, and 14 feet. You’ll also find wall mount hardware and mounting brackets for pop-up tents.
If you’re still looking for the right piece of hardware for your feather flag, our team is happy to answer your questions about our hardware for feather banners, including banner poles, flag bases, banner stands, and other products.
Feather Flag Hardware, Replacement Parts and Mounts
Frequently Asked Questions
A feather flag consists of several key components that work together to create a functional and eye-catching advertising tool. Here’s a breakdown of its parts:
1. Flag Material
Description: The printed fabric that carries the design, message, or logo.
Materials Used: Typically made from polyester or nylon for durability and vibrant print quality.
Key Features: Lightweight, weather-resistant, and available in single-sided or double-sided prints.
2. Pole Set
Description: The frame that supports the flag and gives it its signature feather shape.
Materials Used:
Aluminum: Lightweight and resistant to rust.
Fiberglass: Flexible and sturdy, ideal for withstanding wind.
Key Features: Designed to be collapsible or sectional for easy transport and storage.
3. Pole Sleeve
Description: A reinforced pocket along one edge of the flag that slides over the pole.
Materials Used: Often made of the same fabric as the flag or a more durable material for added strength.
Key Features: Ensures a snug fit around the pole for proper flag alignment.
4. Base or Ground Mount
Description: The part that secures the flagpole to the ground or another surface.
Types of Bases:
Ground Spike: A sharp, metal spike that anchors the flag into soil or grass.
Cross Base: A flat, X-shaped stand used on hard surfaces like pavement.
Water Bag or Sand Weight: Adds stability to the cross base in windy conditions.
Drive-On Base: Designed to be held in place by a vehicle’s weight for events in parking lots.
5. Tension Cord or Clip
Description: A cord or clip that connects the bottom of the flag to the pole to maintain proper tension.
Key Features: Keeps the flag taut and prevents it from flapping excessively.
6. Carrying Bag
Description: A portable case for storing and transporting the flag, pole, and base.
Key Features: Protects components from damage and keeps them organized.
By understanding these components, churches or organizations can choose the right feather flag setup to meet their needs and ensure easy assembly and maintenance.
Fixing a damaged feather flag depends on the type of issue you're experiencing. Please contact us if you are having an issue with your feather flag banner or hardware.
Fiberglass poles are generally better for feather flags due to their flexibility and resistance to breakage, making them more durable in windy conditions. They can bend without snapping, which helps them withstand strong winds. Aluminum poles, while lighter and more affordable, are less flexible and can bend or dent more easily under stress. Ultimately, fiberglass poles are the more reliable choice for long-term use and heavy winds. LookOurWay® feather flags use fiberglass poles because they are more durable and last longer.
Setting up a feather flag in the ground is a straightforward process if you follow these steps:
Step 1: Choose the Right Location
Select an area with firm soil or grass to ensure stability. Avoid sandy or loose soil that may not hold the flag securely. Ensure the site is free of obstacles like underground utilities or rocks.
Step 2: Assemble the Pole
Unpack and Lay Out Components: Unpack the flag, pole sections, and ground spike or stake.
Connect the Pole Sections: Assemble the pole by inserting the smaller sections into the larger ones, following the manufacturer's instructions.
Step 3: Insert the Ground Spike or Stake
Position the Spike: Hold the spike upright and place its pointed end on the ground where you want the flag.
Secure the Spike:
Use a rubber mallet to gently tap the spike into the ground if the soil is hard.
Push the spike in by hand for softer ground.
Ensure the spike is firmly inserted, leaving about 1–2 inches of the shaft above ground for the pole to attach.
Step 4: Attach the Pole to the Ground Spike
Slide the assembled pole onto the exposed shaft of the ground spike. Ensure it fits snugly and is upright.
Step 5: Attach the Flag to the Pole
Insert the Pole Through the Flag Sleeve: Carefully slide the pole through the sleeve of the feather flag, starting at the top.
Secure the Flag:
Use the clip, bungee cord, or string provided to attach the bottom of the flag to the pole, ensuring it is taut.
Step 6: Adjust and Test Stability
Ensure the flag is straight and secure.
Test for stability by gently wiggling the pole. If it feels loose, push the ground spike deeper or reposition it.
Optional: Add Weight for Extra Stability
In windy conditions, place a sandbag or weight over the base of the ground spike for added security.
Tips for Success:
Avoid hammering the spike with excessive force, as this may damage it.
If the soil is too hard, dampen it with water before inserting the spike.
Regularly inspect the setup to ensure the flag and pole remain secure, especially in high winds.
By following these steps, your feather flag will be securely installed and ready to attract attention.
The lifespan of feather flag parts depends on several factors, including the materials, frequency of use, and environmental conditions. The typical lifespan for a feather flag can range from 6 months to 2 years depending on how often it is used and conditions. Store away the flag and hardware during off-seasons to prolong its lifespan. By caring for the individual parts of your feather flag and storing them properly, you can maximize their longevity and ensure they continue to provide excellent service for your church or business.
The best base for a feather flag depends on the specific location and conditions where the flag will be displayed. Here’s a breakdown of the most common base options and the situations where they perform best:
For grass or soft soil: A ground spike is usually the best option for simplicity and effectiveness.
For hard surfaces (e.g., concrete or asphalt): A cross base with added weight will provide the most stability.
For windy conditions: Use a heavy-duty base or a water/sandbag base to ensure your flag stays secure in gusty winds. By considering the location, weather conditions, and portability needs, you can choose the best base to maximize the stability and longevity of your feather flag.
Feather flags can be mounted in various locations to effectively capture attention, promote events, or display messages. The key is to choose areas with high visibility and foot or vehicle traffic.
Having a feather flag at the entrance of your church or business will help direct visitors and customers to the entrance if you're promoting a special event or service. Ideal locations would be a main entrance, parking lot entrance, near pathways leading into the building or facility.
To ensure your feather flag is mounted properly, first check that the base is securely in place, whether using a ground spike, cross base, or weighted base. Make sure the flag pole is tightly assembled and properly connected to the base. Ensure the flag is correctly attached to the pole, with no slack, and positioned for optimal visibility. Finally, inspect the setup regularly to confirm the flag remains stable, especially after windy conditions.


